


Ever found yourself wondering what it actually takes to get a Tesla charger set up at home? Are you worried about hidden costs, electrical upgrades, or choosing the wrong installer? You’re definitely not alone in asking these questions.
Tesla Charger Installation Melbourne, at your Australian home is one of the smartest moves you can make as an electric vehicle owner. It transforms your garage or carport into your very own refuelling station. No more hunting for public charging spots or planning your week around charging schedules. But here’s the thing – getting it right from the start makes all the difference between a stress-free experience and a frustrating one.
In this guide, we’ll walk you through everything you need to know before booking your installation. From understanding your charging options to preparing for installation day, we’ve got you covered. You’ll learn how to assess your home’s electrical capacity, pick the perfect spot for your charger, and find a qualified installer who knows their stuff. By the end, you’ll feel confident and ready to make informed decisions about your tesla charger installation melbourne. Let’s get stuck into it.
Understanding Your Tesla Charging Options
Types of Tesla Chargers Available in Australia
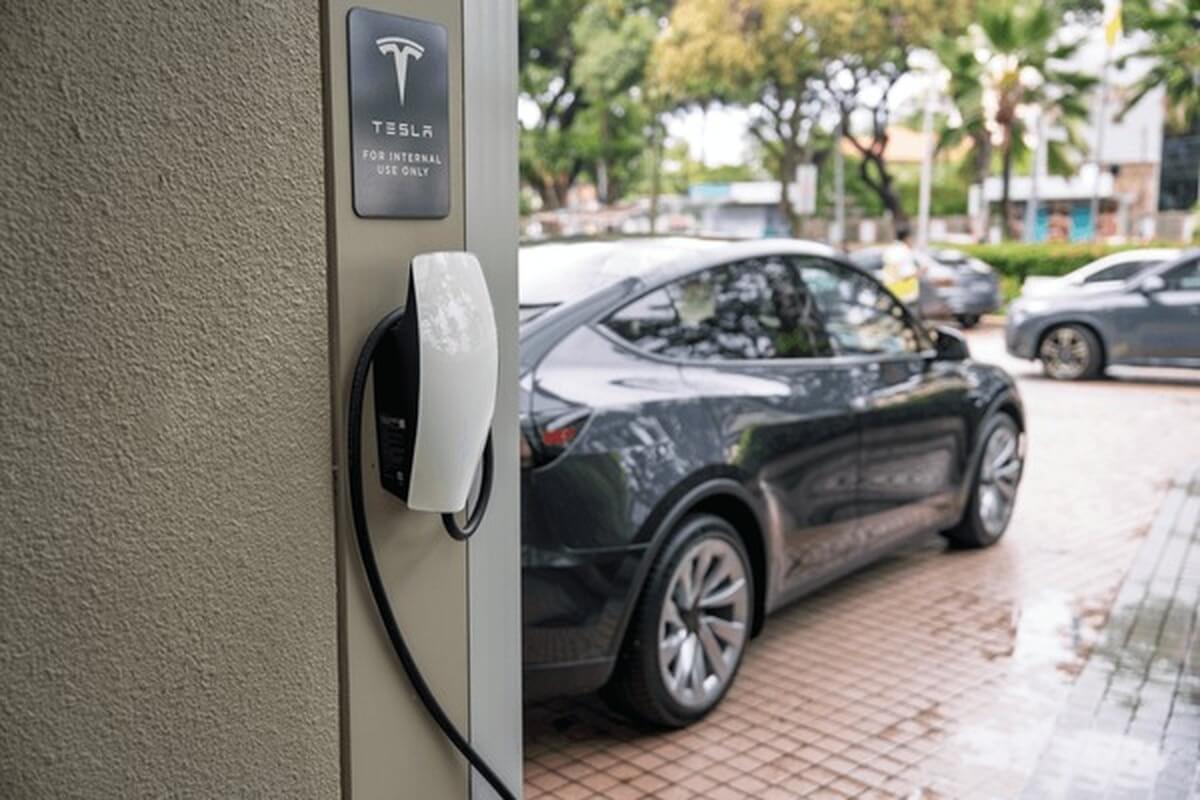
When it comes to charging your Tesla at home, you’ve got two main options to consider. The Tesla Wall Connector is the premium choice, offering faster charging speeds and a sleek design that looks great mounted on your wall. Then there’s the Mobile Connector, which comes standard with your vehicle and plugs into a regular power outlet.
The Wall Connector delivers up to 11kW of power on a three-phase connection, meaning you can add roughly 70 kilometres of range per hour of charging. That’s pretty impressive when you think about it. The Mobile Connector, while more portable and flexible, charges at a slower rate – typically adding around 13 kilometres per hour on a standard household outlet.
Wall Connector vs Mobile Connector: Which Is Right for You?
Your decision really comes down to how you use your car daily. If you’re covering long distances or need quick overnight top-ups, the Wall Connector is your best bet. It’s a permanent fixture that provides reliable, fast charging whenever you need it.
On the other hand, if you’re a lighter driver or want the flexibility to charge at multiple locations, the Mobile Connector might suit you better. Many Tesla owners actually keep both – the Wall Connector at home and the Mobile Connector in the boot for trips away.
Assessing Your Home’s Electrical Capacity
Do I Need to Upgrade My Switchboard for a Tesla Charger?
This is one of the most common questions homeowners ask, and the answer varies. Many older Australian homes have switchboards that simply weren’t designed with electric vehicle charging in mind. If your switchboard still uses ceramic fuses or lacks a safety switch, you’ll almost certainly need an upgrade.
A qualified electrician can assess your current setup during a site inspection. They’ll check whether your switchboard has space for additional circuits and whether your main supply can handle the extra load. Don’t worry if you need an upgrade – while it adds to the initial cost, it’s a worthwhile investment for your home’s overall electrical safety.
Understanding Single-Phase vs Three-Phase Power
Most Australian homes run on single-phase power, which is perfectly adequate for Tesla charging. Single-phase connections typically allow for charging speeds of around 7kW, adding approximately 45 kilometres of range per hour.
Three-phase power, more common in newer homes or those with air conditioning and pools, enables faster charging at up to 11kW. If you’re building a new home or considering an electrical upgrade anyway, three-phase is worth discussing with your electrician. The faster charging speeds can be a real game-changer for busy households.
How Many Amps Does a Tesla Home Charger Need?
The Tesla Wall Connector requires a dedicated circuit of between 32 and 40 amps for optimal performance on single-phase power. Your electrician will need to install appropriate circuit protection and cabling to handle this load safely. This isn’t something you can simply plug into an existing power point – it requires proper installation by a licensed professional.
Choosing the Right Location for Your Charger
Indoor vs Outdoor Tesla Charger Installation
Both options work brilliantly, but each has its considerations. Indoor installations, typically in garages, offer protection from the elements and often simpler wiring runs. Outdoor installations need weatherproof enclosures and may require longer cable runs, but they’re perfect if your parking spot is in a carport or driveway.
The Tesla Wall Connector is rated for outdoor use, so don’t let an outdoor-only option put you off. Just make sure your installer uses appropriate weatherproofing and positions the unit away from direct water exposure.
Can I Install a Tesla Charger in My Garage?
Absolutely – and it’s often the ideal location. Garages offer protection from weather, easy access to your home’s electrical system, and the convenience of charging while your car is parked securely. Consider which side of your vehicle the charging port sits on when choosing your mounting position.
Optimal Cable Length and Positioning Considerations
Think about how you’ll actually park your car. The Wall Connector comes with a generous cable length, but you want to avoid stretching it across walkways or having excess cable coiled on the floor. Mount the unit at a height that’s comfortable to reach – typically around 1.2 metres from the ground works well for most people.
Hiring a Qualified and Certified Installer
What Qualifications Should a Tesla Charger Installer Have?
Your installer should hold a current electrical licence and, ideally, be a Tesla-certified installer. Tesla certification means they’ve completed specific training on Tesla products and installation requirements. This expertise translates to a smoother installation process and fewer potential issues down the track.
Why Choosing a Licensed Electrician Matters
In Australia, only licensed electricians can legally perform electrical work. Beyond the legal requirements, a licensed professional carries appropriate insurance, understands local regulations, and can provide compliance certificates. Cutting corners here simply isn’t worth the risk to your home or family’s safety.
Questions to Ask Before Booking Your Installation
Before committing, ask potential installers about their experience with Tesla chargers specifically. Find out whether they’ll conduct a site inspection before quoting, what’s included in their price, and how long they expect the job to take. A reputable installer will happily answer these questions and provide a detailed written quote.
Preparing for Installation Day
Pre-Installation Checklist for Homeowners
Clear the area where the charger will be mounted and provide easy access to your switchboard. Have your vehicle parked nearby so the installer can test the connection once complete. It’s also helpful to know your daily driving habits – this information helps your electrician configure the charger settings appropriately.
How Long Does Tesla Charger Installation Take?
Most straightforward installations take between two and four hours. However, if your home needs a switchboard upgrade or extensive cable runs, allow for a full day. Your installer should give you a realistic timeframe during the quoting process.
Common Installation Challenges and How to Avoid Them
The biggest headaches typically come from unexpected electrical issues or difficult cable routing. A thorough site inspection beforehand identifies most potential problems. Be upfront with your installer about your home’s age, any previous electrical work, and your exact charging location requirements.
Post-Installation: Getting the Most from Your Tesla Charger
Setting Up Your Charger with the Tesla App
Once installed, connecting your Wall Connector to the Tesla app is straightforward. This allows you to schedule charging during off-peak electricity times, monitor charging progress, and receive notifications when your car is fully charged. It’s genuinely satisfying to wake up to a fully charged vehicle every morning.
Can I Charge My Tesla Using Solar Panels?
Yes, and it’s a fantastic combination. If you have solar panels, you can potentially charge your Tesla using free, clean energy from the sun. Some homeowners install additional panels specifically for EV charging. Chat with your installer about integrating your charger with your existing solar system.
Maintenance Tips for Long-Term Performance
Tesla chargers require minimal maintenance. Keep the charging cable clean and store it properly when not in use. Periodically check the wall mounting is secure and inspect the cable for any damage. Your charger should serve you reliably for many years with basic care.
Final Thoughts on Ensuring a Hassle-Free Installation
Getting your Tesla charger installation right comes down to preparation and choosing the right people for the job. By understanding your charging options, assessing your home’s electrical capacity, selecting the perfect location, hiring qualified professionals, and preparing properly for installation day, you’re setting yourself up for success.
The investment in a home charger pays dividends in convenience and peace of mind. No more range anxiety, no more detours to public chargers, and no more waiting around while your car charges. Just plug in when you get home and wake up to a fully charged vehicle ready for whatever the day brings.
Take your time with the planning process, ask plenty of questions, and don’t be afraid to get multiple quotes. Your future self will thank you for doing the homework upfront. Here’s to smooth driving and even smoother charging ahead.


